
Inventory Functions - WMS Guide
V5 Online Help Section
Inventory Functions
Summary
This guide will take a look at the various options that the V5 WMS app offers with regards to inventory functionality. WMS is highly configurable in this regard, and many of these different settings and options can be enabled or disabled to tailor to a client’s individual need. For assistance in adding (or removing) any of these options on your site, please contact SG support.
Table of Contents
WMS and Inventory Functions
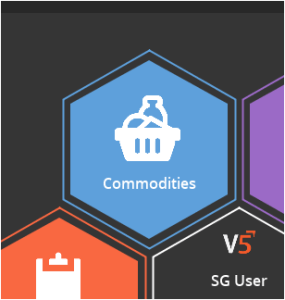
WMS offers the ability to manage non-palletized commodities via the ‘Commodities’ hexagon on the main page.
Once we are in this menu and select a non-palletized commodity lot, we will be presented with the following options to manage that lot:
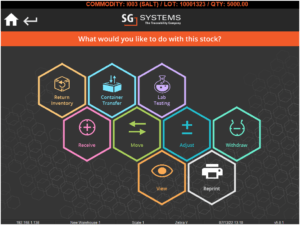
We can now take a look at each of these functions and the different options and system flexibility that they can provide.
Global Scale Options
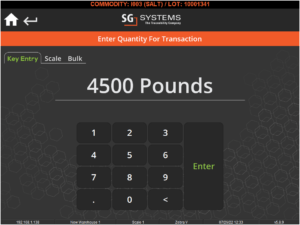
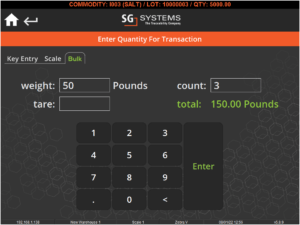
As we will see below, many of the inventory functions covered here will involve the weighing of commodities. When we come to do this we have 3 options, each of which can be set as the default method. This setting will still allow the selection of all of the below options, but will affect which option is initially presented to the operator when they come to a weighing step.
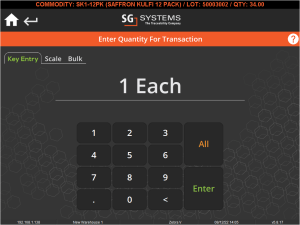
We simply use the keypad to input a weight.
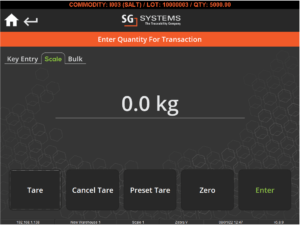
Uses the attached scales to weigh the commodity and gives us a tare option.
Allows us to use the keypad to enter bulk units of the commodity.
Receiving a New Lot
On the lot selection screen before we get to the main inventory functions hex panel, we have the option to receive a new lot of the commodity in question. We can do this by hitting the green ‘+’ in the bottom left corner.
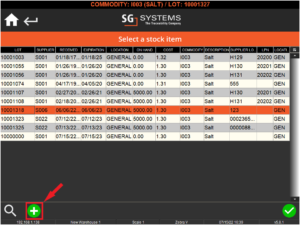
The way this works can be set up in a multitude of different ways using a wide combination (or potentially none) of the following parameters:
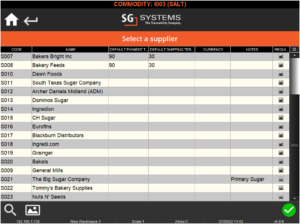
This can be set to automatically use the default supplier of the commodity that is set in ‘Commodities‘, select a supplier from a list, or to receive the lot with no supplier set.
As with supplier selection above, this can be set to receive the default quantity set in ‘Commodities’ or prompt for a weight entry.

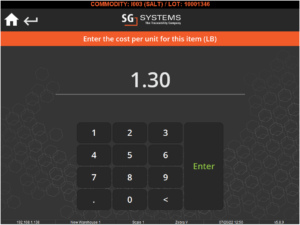
As with the first 2 above, we can receive commodities at the default cost set in ‘Commodities’, but the system can also be set to receive at 0 cost, or to prompt for a new cost.
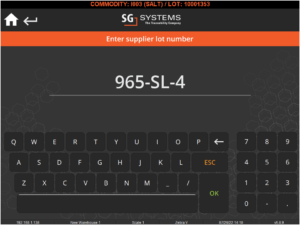
We can either receive a lot without a supplier lot number entered against it, or we can get the system to prompt for one.
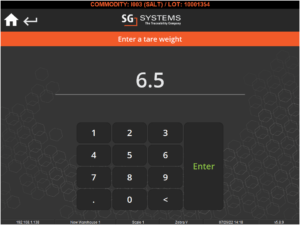
We can receive commodities without a tare weight, or we can set the system to prompt for one.
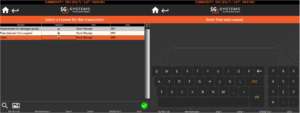
The system can either ask us ‘Reasons‘ for receiving this new lot (these will be ‘Stock Receipt’ reasons) or not.
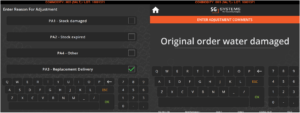
The system can also be set to ask for ‘Pallet Adjust’ reasons at this stage as well. The term ‘pallet’ here only really refers to the pallet the item is received on, not for pallets within the V5 system.
The system can be set to prompt for a supplier account number, pulling these account numbers via ERP integration.
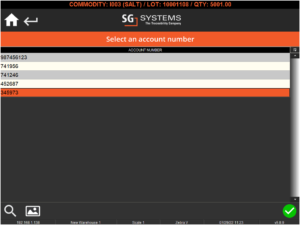
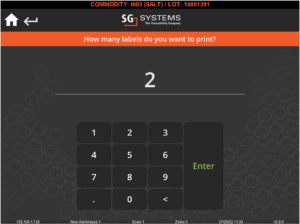
A default label amount to print can be set for each WMS instance, and can be further configured to automatically print this amount, prompt for the desired amount of labels, or just not print a label at all.
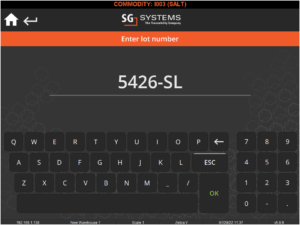
The system can be set to prompt for a lot number, assign the next available number, or assign the lowest available number. The lot number format can be controlled globally.
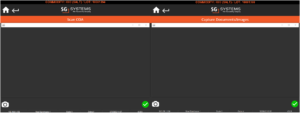
The system can be set so that it prompts to scan a Certificate of Analysis or take pictures of any documentation associated with the lot receipt.
Each WMS instance has a default stock location, and can be set up to either book the incoming lot into this location or prompt from a list of stock locations.
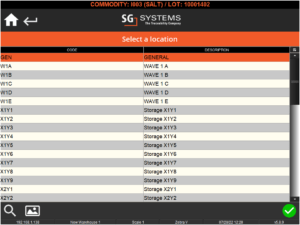
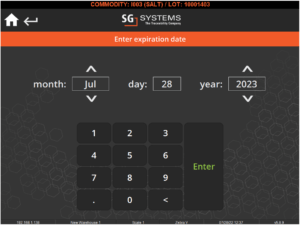
The system can be set to either use the ‘Expiry Days’ which can be set against the commodity in ‘Commodities‘, or it can be set to prompt for manual entry of an expiry date. This is useful if we are making use of the ‘Expiration Date‘ method.
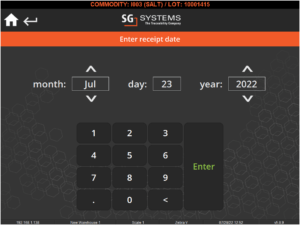
The system can be set to either receive the lot at the current time and date, or can be set to prompt for this.
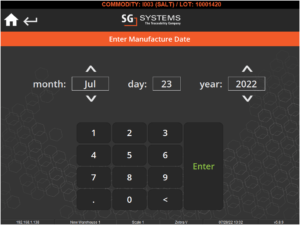
Allows for the system to prompt for a manufacture date, which can then be used (if our expiry method is set to ‘Manufacture Date’) to set the expiration date of the received lot.
The system can be set to prompt for a container (or even a pallet) to receive the stock into, or not.
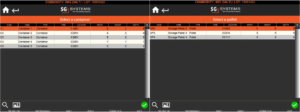
Return Inventory
The ‘Return Inventory’ function only related to produced batches or products, and allows us to select a lot and essentially undo the production of it and return the raw materials to stock. This is particularly useful if, for example, we are selling a 12 packs of a product but the order changes and we require a 6 packs instead. We can then undo the production of the 12 packs and redo them as 6 packs.
This works by hitting the ‘Return Inventory’ button, after which we will be asked to weigh or manually input the quantity to be returned. The system will then undo the production and return items to stock.
Container Transfer
The ‘Container Transfer’ function allows us to move containerized commodities from one container to another. This function has largely been deprecated.
Lab Testing
The Lab Testing section here allows us to select lots to have samples taken for testing. Tests can be specified on a per commodity, or on a global basis, and this is dependent on how we set this up in the ‘Q&A’ page of Control Center.
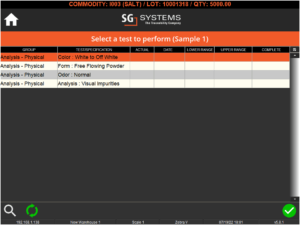
Any questions under the event of ‘Lab Testing’ and assigned to this commodity (or to all) will be shown here so we can perform tests on our samples.
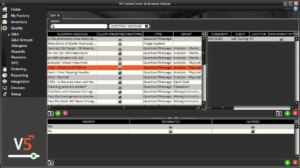
Receive
The ‘Receive’ (or ‘Augment’) allows us to receive more of the commodity into the selected lot. We can use our scale options to enter or weigh how much more we are going to add to this lot (in the default UoM of the commodity).

We can also set the system up to prompt for any (or none) of the following while using this function:
The system can be set to prompt for a supplier account number, pulling these account numbers via ERP integration.

The system can either ask us ‘Reasons‘ for adding to this lot (these will be ‘Stock Adjust’ reasons) or not.
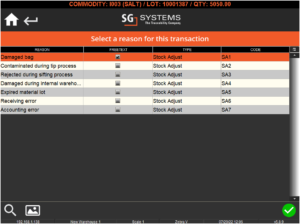
The system can also be set to ask for ‘Pallet Adjust’ reasons at this stage as well.

A default label amount to print can be set for each WMS instance, and can be further configured to automatically print this amount, prompt for the desired amount of labels, or just not print a label at all.

We can add commodities to a lot without a tare weight, or we can set the system to prompt for one.

Move
If we select a commodity to move, we will first be presented with a list of stock locations to choose from or scan against.

After we have done this, we will be asked to weigh or key in the amount to be moved from our selected lot. Once this has been done, the amount will be moved to this location on the system. If the lot was split during this action, then both quantities will retain the same lot number across both locations.
Adjust
Adjust allows us to reweigh a specific lot in order to manually cycle count it. We can use our scale options to enter or weigh a new weight for this lot (in the default UoM of the commodity).

We can also set the system up to prompt any (or none) of the following while using this function:
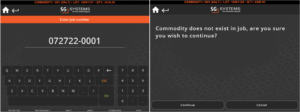
The system can be set to prompt for a Job Number to associate with the quantity adjustment. If the inputted job does not contain this commodity, we will be prompted to confirm that it is indeed this job that we are associating with this action.
The system can be set to prompt for a supplier account number, pulling these account numbers via ERP integration.

The system can either ask us ‘Reasons‘ for adjusting this lot (these will be ‘Stock Adjust’ reasons) or not.

The system can also be set to ask for ‘Pallet Adjust’ reasons at this stage as well.

A default label amount to print can be set for each WMS instance, and can be further configured to automatically print this amount, prompt for the desired amount of labels, or just not print a label at all.

We can adjust a lot without a tare weight, or we can set the system to prompt for one.

Withdraw
Withdraw allows us to remove a weighed (or keyed in) amount of the selected lot from the system’s inventory.

We can also set the system up to prompt any (or none) of the following while using this function:
The system can be set to prompt for a Job Number to associate with the quantity withdrawl. If the inputted job does not contain this commodity, we will be prompted to confirm that it is indeed this job that we are associating with this action.

The system can be set to prompt for a supplier account number, pulling these account numbers via ERP integration.

The system can either ask us ‘Reasons‘ for withdrawing from this lot (these will be ‘Stock Adjust’ reasons) or not.

The system can also be set to ask for ‘Pallet Adjust’ reasons at this stage as well.

A default label amount to print can be set for each WMS instance, and can be further configured to automatically print this amount, prompt for the desired amount of labels, or just not print a label at all.

We can withdraw a quantity from a lot without a tare weight, or we can set the system to prompt for one.

View
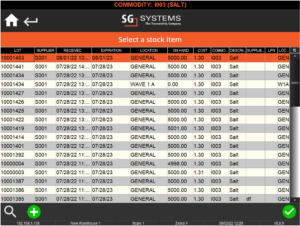
‘View’ is simply another way of getting back to the lot selection of the commodity we are looking at.
Reprint
The ‘Reprint’ function allows us to reprint a variety of labels for the selected commodity lot. We get the following options:
- Commodity – this will reprint a stock label.
- Batch – we will get a choice to print either a stock, batch, or ingredient label.
- Product – we will get a choice to print either a stock, product, or ingredient label
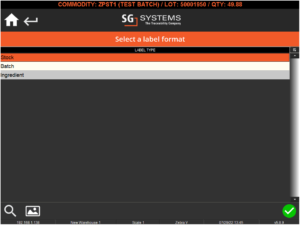
As mentioned for functions described above, a default label amount to print can be set for each WMS instance, and can be further configured to automatically print this amount or prompt for the desired amount of labels.

