
Weigh & Print
Module Guide - A Deeper Dive!

Introduction
The Weigh & Print module is an addition to the V5 Terminal software that is designed as an interim solution for pharmaceutical and nutraceutical customers in order to begin using the scaling element of the V5 Traceability system before moving to full integration and formulation at a later stage of deployment.
This module is designed to allow the weigh up and labelling of individual ingredients which can then be collated later in the production process. This process makes use of commodities entered into the V5 database (which can be done manually or via our offered integration methods), but does not make use of formulas/recipes to dictate what should be weighed and when.
Note that no reporting/traceability functions are offered by this module.
Table of Contents
1. Accessing Weigh & Print
Weigh & Print can be found in Terminal under the ‘Station Set Up’ tab, and then by tapping the ‘Weigh & Print’ button.
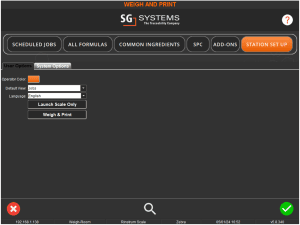
From here, the Weigh & Print module features 2 modes:
- Single weigh mode
- Multi-weigh mode
We can look at the differences between these modes below.
1. Single Weigh
Single weigh mode is designed where the total amount of a single ingredient can be weighed in 1 weigh step and requires only 1 label per step.
Upon opening the Weigh & Print screen we will see the following screen:
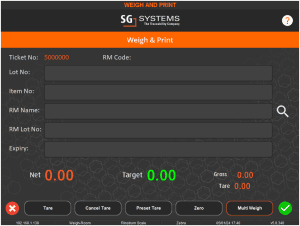
Note the ticket number that is pre filled at the top here. These are serialized, so each weigh event (using either mode) will have its own unique ticket number which can be printed on the resulting label.
We can then click on any of the available fields to start filling out our details for the lot.
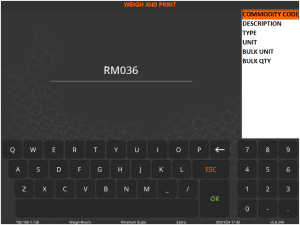
In this example let’s start by adding the raw material that we are going to weigh. This can be done by hitting the search icon to the right of the ‘RM Name’ field.
This will allow for the correct raw material to be searched for:
And then selected (multiple results can show depending on the accuracy of the search term) using the green check in the bottom right:
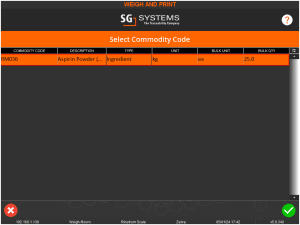
This will then pull the raw material name into the ‘RM Name’ field and populate the raw material name at the top of the screen.
We can then fill the rest of the fields by tapping the fields themselves and then entering our desired information, for example, here with ‘Lot Number’:
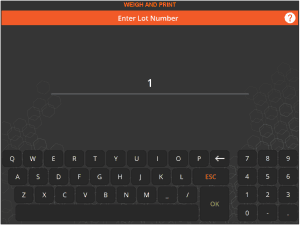
We would then complete all required fields to enter all our desired information for that particular lot. Once done, this screen will look something like this. Note that all fields at this point are freetext entry.
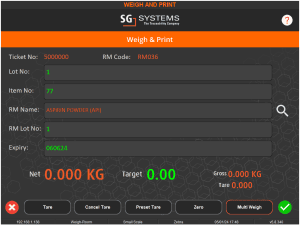
We can then set the target weight for the step by tapping the ‘0.00’ in the ‘Target’ field at the bottom of the screen. We can enter a target weight here.
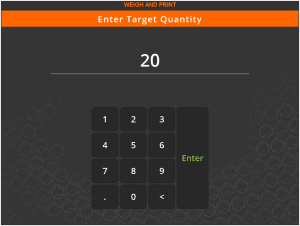
This will then be filled in the target field and we can start to weigh up our raw material. We can make use of the tare function here to zero container weights (1.473 in this case).
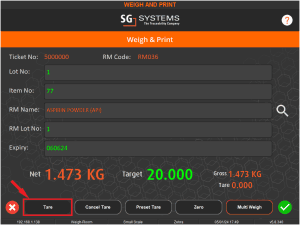
Once this is done the tare value will be stored and we can weigh up the desired amount of the raw material.
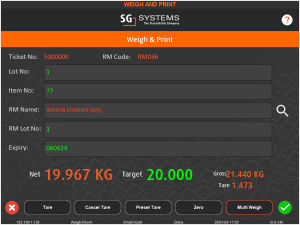
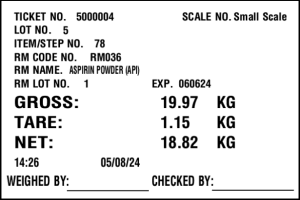
Once at the target weight we would hit the green check to print our label, which would come out something like this:
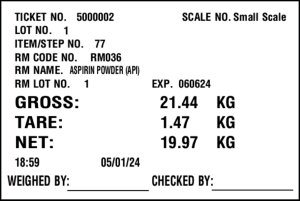
Note that label design can be customized here depending on requirements.
We would then move on to the next raw material to weigh. Note that all fields (including the target weight) will remain as they were, and details will need to be reentered here. This can be easily done by simply editing all fields as described above.
2. Multi-Weigh
The multi weigh option is designed for the occasion when a single raw material needs to be weighed out in multiple stages, due to scale weight limits for example.
To activate this mode, the ‘Multi Weigh’ button in the bottom right of the window should be pressed.
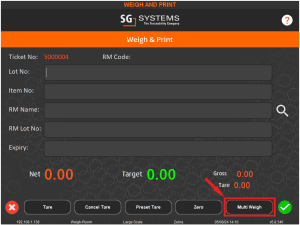
Upon pressing this button, we will immediately be asked for the target weight of the raw material required. This is the amount that is required to be weighed out over multiple steps. Let’s say we want 50kg here, and the reason we are using multi weigh here is that our scales have a limit of 20kg.
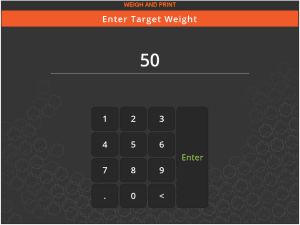
Once confirmed this is pulled into the ‘Target’ field, and we can complete the rest of the fields as we saw above for single weigh mode.
Note the message in the top banner (if enabled) that confirms that multi weigh mode is now active. This is also shown by the ‘Multi Weigh’ button turning green.
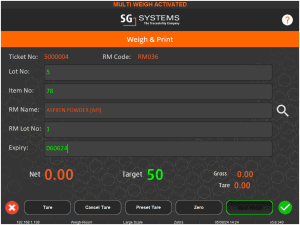
We can then use the tare function to allow for any containers etc. as we did previously.
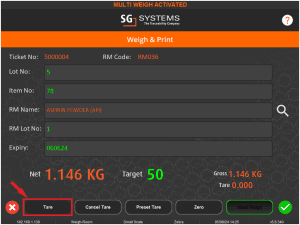
And then proceed to weigh up to the 20kg limit of the scale.
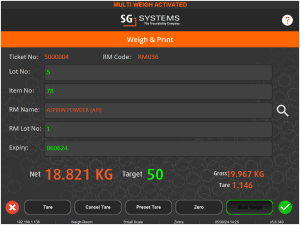
We would once again hit the green check here to confirm the first weigh event is complete, and we will get a label similar to the one we saw above.
Note that when looking back at the Terminal screen, our target weight has now been updated to reflect the remaining amount left to weigh up.

We can then enter new values for the ‘RM Lot No’ and ‘Expiry’ if desired, as we have here. We would then weigh up the next 20kg (taking the tare into account).
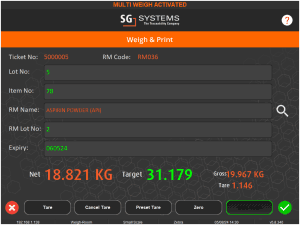
Once we have weighed out this next portion of the raw material, we can hit the green check again to get another label.
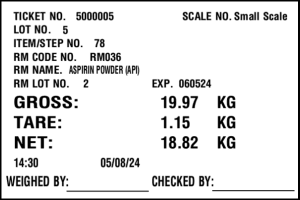
We can then weigh out the remaining amount, again using the tare to take into account any containers/bags etc. Note again that we have changed the ‘RM Lot No’ and ‘Expiry’ again here.
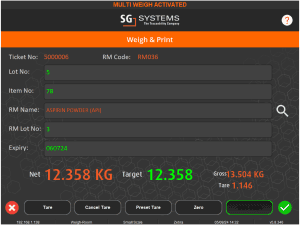
Hitting the green check again will give us a third bag label for this ingredient.
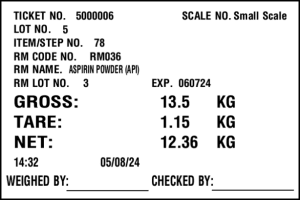
So now we have completed all the required multiple weigh events for this particular raw material, we can hit the ‘Multi Weigh’ button again. This will deactivate multi-weigh mode (seen in the top banner).
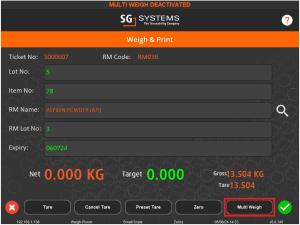
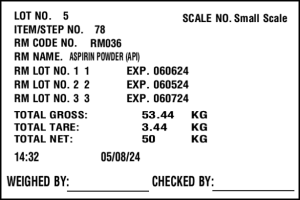
Deactivating this mode will also then produce a final label that lists the total combined gross/net/tare weights from each step, as well as featuring the individual RM Lot numbers and expiry values. Again the label design here can be modified on request.
Other raw materials can then be weighed up using either the single or multi-weigh mode.
