
Stock Transform
Module Guide - A Deeper Dive!

Introduction
The transform function in V5 Traceability allows users to quickly convert one or multiple stock items into another one at the click of a button, saving users time that would otherwise be wasted by withdrawing and adding to inventory manually.
Table of Contents
1. Purpose
The Transform feature in SG Systems’ V5 Traceability module enables users to efficiently convert multiple source materials into a single output material, simplifying what would traditionally require multiple manual inventory withdrawals and additions. Whether you’re peeling raw carrots into chopped carrots, defrosting frozen meat, or blending various ingredients into a final product, the transform process streamlines operations while maintaining full traceability.
Available in both Control Center and WMS, the transform functionality supports complex input scenarios—allowing the selection of multiple source stock lots or pallets, flexible output lot handling (new or existing), and full configuration of transformation rules via the Control Center.
2. Control Center
2.1. Transform Links
In Control Center, we can first use the ‘Transform Links’ window to assign particular items to others, which streamlines the process once the transform functionality is used in both Control Center and WMS), so let’s take a look at this window first. This ‘Transform Links’ window can be found under the WMS > Inventory menus.
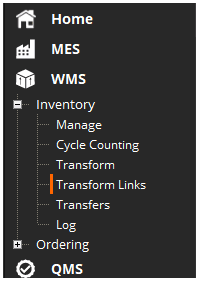
Once here we can establish links between different commodities and the subsequent commodities that they will frequently be transformed into. So here we are going to assign ‘Chopped Carrots’ to the ‘Raw Carrots’ commodity. This can be done by highlighting the commodity to be transformed in the upper panel (1), then use the green + in the lower panel (2) to add a line here, and then select use the dop-down menu to select a commodity here that the top commodity will be frequently transformed into (3).
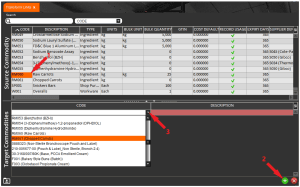
Multiple items could be added here, if for example we had multiple different types of chopped carrots (grated/sliced/diced etc.), but for now we will just add the ‘Chopped Carrots’ here.

2.2. Transform
With a transform link established, we can now head to the ‘Transform’ window in Control Center to look at the functionality here. This can be found under the same menu as the ‘Transform Links’ above.
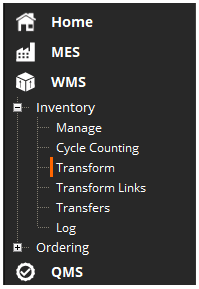
Once here we have 4 different panels for use.
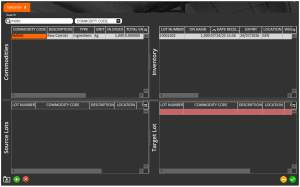
Available commodities with active transform links will be shown in the top left panel, or if there are multiple we can use the search box to find the desired item. Once we’ve found the commodity that we want to transform and select it, the list of available lots of this item will be shown in the top right panel.
We can then select a lot in the top right, then use the green + in the lower left corner to add the selected lot to the ‘Source Lots’ in the bottom left.
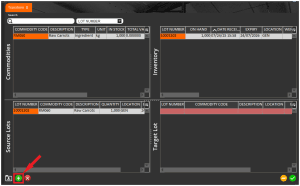
More source lots can be added here if desired but here we will just use this single source lot. We can then specify the amount of this source lot to use. In this case we will imagine that 100kg of raw carrots had been taken for preparation.
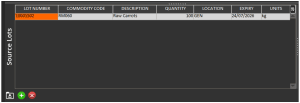
Once this quantity is set, in the bottom right panel, the ‘Commodity Code’ drop-down box can be used to select the commodity to transform the source lot into, so we will select the ‘Chopped Carrots’ here. A lot number can then be manually assigned, along with other important commodity information such as the location, expiry, and most importantly, the quantity.
Let’s say that this 100kg of the raw carrots create 95kg of chopped carrots once they are peeled etc. In this case we could set the lower panel like so:
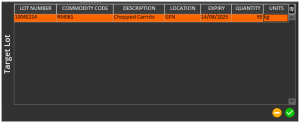
Note here that the yellow minus (-) symbol in the bottom right here can be used to clear all entered data and start over. Also note that this will wipe the source lots as well.
Once we’re happy with this data we can hit the green check button to confirm creation of this transformed lot. We will then get a confirmation message to confirm.
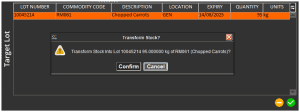
A freetext reason prompt will then be shown to allow user input here.
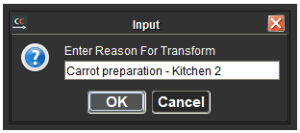
Two label prompts will then be shown to give the option to print a new product label:
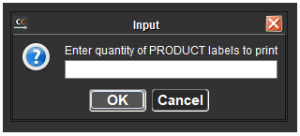
And product pallet label:
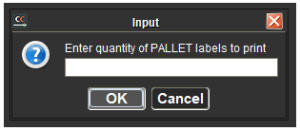
After which a confirmation message will be displayed:

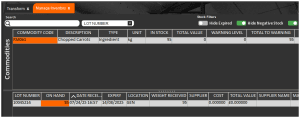
And if we head to our inventory page we will see this new lot ready for use in production.
3. WMS
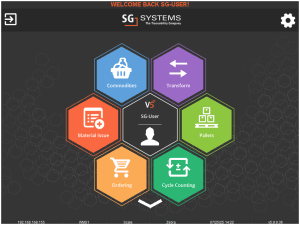
In WMS, the ‘Transform’ function is an additional menu hex that can be added to the main screen. If this is not visible, please contact SG support for assistance in adding it.
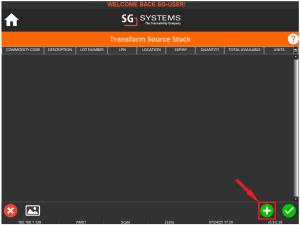
Once we go into this menu we can add source stock by tapping the green + button in the bottom right of the screen.
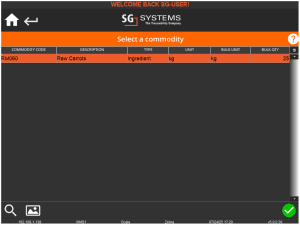
Once we hit this, a list of commodities with transform links assigned will be shown, so here we will see our raw carrots.
Selecting this commodity and hitting the green check will then open a list of available lots, which can then be chosen.

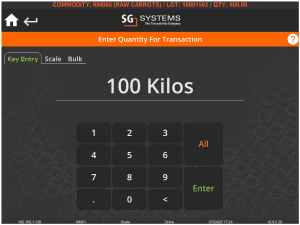
A quantity prompt will then be shown, allowing the WMS operator to either key in the amount of raw carrots to process. So let’s assign another 100kg of raw carrots here.
Once an amount is added we will be returned to the source stock screen again. We will see the lot that we just added but, as in Control Center, more source lots can be assigned here if desired.
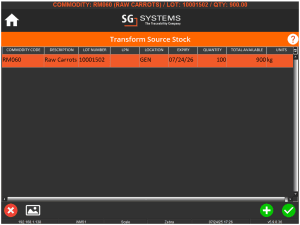
Once all lots are added then the green check can then be used to proceed.
Note that it is also possible to set WMS to ‘Single Source Mode’, whereby the system will skip the ‘Transform Source Stock’ screen and will just allow the selection of 1 lot of a single commodity to process.
The process will then continue as below for both modes.
A list of associated commodities from the Transform Link table will then be shown for selection, so since we just added the chopped carrots here we can see this as our only option so we can select this and carry on by hitting the green check again.
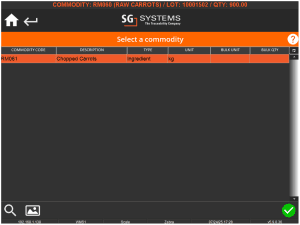
By default there will now be an option to whether we want to create a new lot or augment an existing lot.
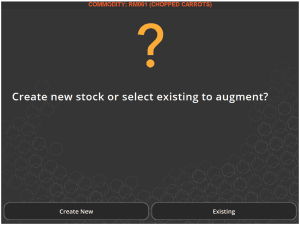
There is a WMS configuration option here that can be used to skip this screen and create a new lot, but in this case we can look at the process for both.
– Create New
Hitting ‘Create New’ here will prompt for the expiry, quantity of chopped carrots to add, as well as a location assignment.

Once this information has been entered, the process will complete and we will be returned to the main screen.
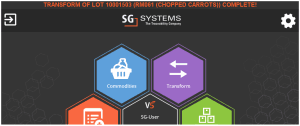
Depending on the WMS settings the system will generate a lot number automatically. This can be set to allow manual input, but note that this will affect other areas of WMS that generate lot numbers (i.e. receiving).
– Existing
If we go back now and perform the process again, but instead select ‘Existing’, WMS will show a list of existing lots of chopped carrots, so here we can see the lots we transformed earlier, so we could augment to one of these if desired by selecting one and hitting the green check again.
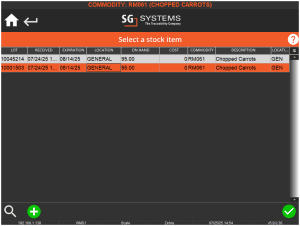
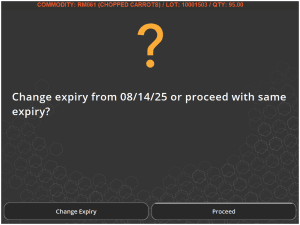
The system will then check if we want to use the same expiry date as the target lot that we are augmenting or if we want to enter a new one. Here we will just select ‘Proceed’ to retain the same expiry.
The same quantity prompt as above will appear to enter the quantity of chopped carrots that we are adding to the target lot (we will say 95kg again), after which we will then be returned to the main WMS screen with the process completed.
If we then check the inventory for the chopped carrots, we can see that the extra 95kg has been added to the selected lot.

For each methodology, the system will automatically print a new stock label for the transformed lot. If the lot was augmented this will print the revised quantity. By default the system will print 1 label, but a fixed quantity can be specified via the WMS config. Contact SG Support for assistance with this.
