Messaging
Module Guide - A Deeper Dive!

Introduction
Part of the V5 KPI module for v5.9, the KPI messaging module enables Control Center users to send notifications of different types to a user/all users who are currently logged in to their KPI suite.
Table of Contents
1. Notification Setup
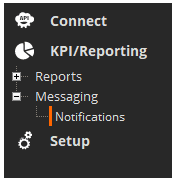
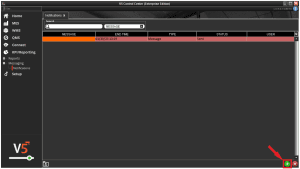
Noifications to KPI operators can be set up in Control Center under the ‘KPI/Reporting’ > ‘Messaging’ > ‘Notifications’ menu.
Once here the green ‘+’ in the bottom right of the page can be used to add a message to be displayed in the KPI webpage.
Once we have entered a message in the appropriate cell, the line will be saved:

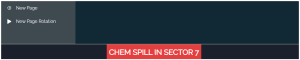
And the message will be sent to the KPI suite across the bottom of the page:

Note that we have different types of notifications available here:
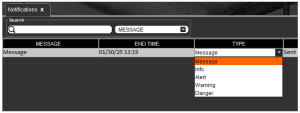
These work in exactly the same way as the default ‘Message’ type, the only difference is the color of the notification in the KPI webpage, indicating severity to anyone viewing the KPI page at that time. We can see these differences below.
1.1. Types of Notifications
Message:
As we saw above, this will be displayed in blue:

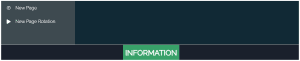
Info:
This will be displayed in green:
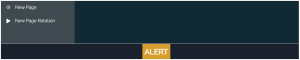
Alert:
This will be displayed in yellow:
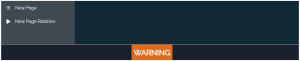
Warning:
This will be displayed in orange:
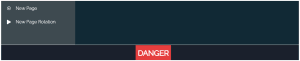
Danger:
This will be displayed in red:
2. Changing a Notification
If we want to change an already sent message then that is as simple as just editing the ‘Message’ cell in Control Center, so if we edit the ‘Danger’ message we just sent.

And once the notification has cycled across the bottom of the KPI webpage it will update to reflect the change in Control Center.
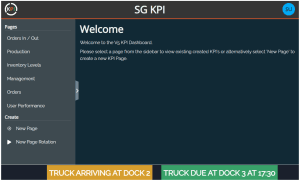
3. Using Multiple Notifications
We can make use of multiple notifications if desired, it is just a case of adding more in Control Center, so here we can add 2 messages that might be useful for a KPI screen that is displayed in the warehouse:

Both of these would then be displayed on the KPI page:
4. Removing Notifications
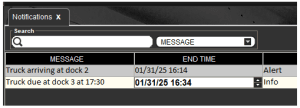
A notification will be created with a 1 hour time limit from the time of creation by default.

We can change this however by clicking in the ‘End Time’ cell:
Where double click on any set of numbers (month/day/year/hour/minute) to edit it, which we can either do by using the arrows to increment by 1 either way, or simply by typing a new value and hitting enter twice to confirm the new value:
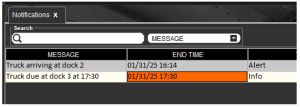
So here we have extended the original time of the information notification to be in line with the expected time of the truck.
We can remove a notification before its end time by simply highlighting it in Control Center and using the red ‘-‘ in the bottom left to remove it.
The KPI webpage will then update to reflect this when the notifications next cycle.
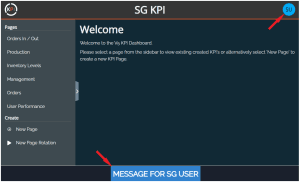
5. Notifying Specific Users
With the default setup we have seen so far, when we are creating notifications the ‘User’ column is blank, meaning that all KPI users will see this notification.

We can however use the drop-down menu in the user column to specify a user to see the notification. So we can change this to:

And SG User will see this in the lower banner of the KPI screen:
Whereas another logged in KPI user will not see this message: